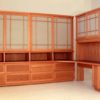
Another great video tutorial done for About.com by Dave, this time How to Build a Kitchen Cabinet!
http://woodworking.about.com/video/How-to-Build-Kitchen-Cabinets.htm
Necessary Tools & Materials
To complete this project you’re going to need:
- A Rubber Mallet
- Safety Glasses
- Tape measure
- Pencil
- Drill with a screwdriver bit
- 12 – 2″ screws
- 10 – 1 1/4″ screws.
You’re going to need a jig for shelf pin holes, Shelf pins are either five millimeters or a quarter inch. The spacing of the shelf pin holes is an inch and a quarter.
You’ll also need a table saw with a Dado blade and a standard blade.
The additional tools you’ll need for this job are:
- Long clamps
- Heat sensitive edge banding
- A Household iron.
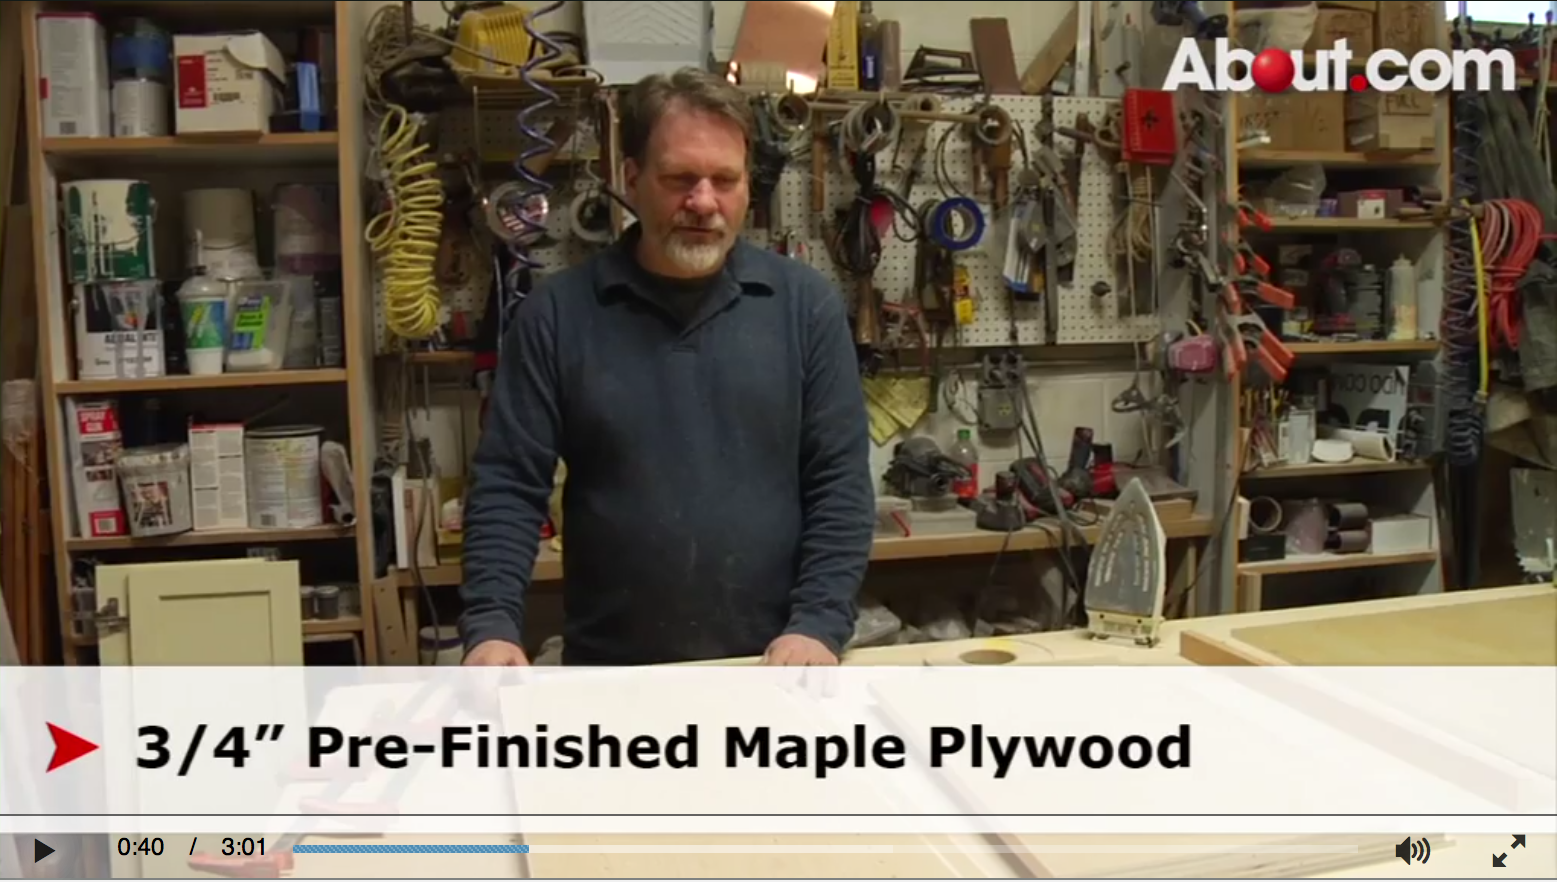
The material required are three-quarter inch pre-finished maple plywood, edge band on the front, half inch rabbet on the back. The top and the bottom are twenty-four inches wide and fourteen inches deep. The rabbet on the back, edge banding on the front. This is the back- It’s a half inch thick pre-finished maple plywood cut on the table saw. Twenty-five and an eighth inch wide and thirty-six and a half inches high.
Edge Band Your Plywood
To edge band your plywood you’re going to need a common household iron and heat-sensitive edge band material. It’s simply ironed on. And then after it’s ironed on, trimmed with a knife.
Dirll Your Shelf Pin Holes
To drill your shelf pin holes, I’m using a jig. The holes are an inch and a quarter apart and an inch and a half in from the front face of the cabinet. I’m going to line the front edge of the jig to the front edge of the cabinet and clamp securely so that it does not move.
With the five millimeter bit, you’re not going to go all the way through the work piece. A five millimeter shelf pin only needs about a quarter of an inch. So you drill making sure you’re not going in more than a quarter of an inch.
Begin Construction
As we start our construction, lay out the sides facing each other, rabbets in the back. Take one of the top or bottom pieces, they’re both the same, with the rabbet on the back. Stand up one side. You’ll notice that I’ve pre-drilled holes with a countersink. Clamp and an additional clamp. Make sure they’re flush. We’re using three screws on each side. Release the clamps. Stand the opposite side up. Make sure you’re flush on the top, on the front.
Drop Into the Rabbets
Once we got the sides attached, we’re going to flip it over on it’s face. So we’re going to attach the back pre-finished face and drop it into the rabbets that are on the back side of the cabinet. You’re going to put a screw in about three inches from the corner.
Is it Square?
You want to make sure your cabinet is square. And to do that, you measure diagonally from one corner to the other and then from the other corner. And if the measurement is the same, this is forty-five inches and this is forty-five inches. So my cabinet is square.
Shelf & Door Measurements
From this point you’ll need two shelves 13 1/4″ deep, 24″ wide and 8 shelf pins. The doors required are going to be 37 1/2″ tall, 12 5/8″ inches wide.